Introduction
Cameras connected to ClareVision Plus (CVP) and Luma NVRs can be viewed through the ClareHome app by adding them to your ClareOne or Cliq ClareHome project. Currently NVRs must be added through legacy Fusion. This document walks you through that process.
Terms
- Device: A device is a single hardware entity/interface to which the ClareHome account will be able to connect and interact.
- Channel: This defines the port to which a camera is connected on an NVR. For example, port 1 = channel 1, etc.
Adding the NVR
When adding the NVR (CVP or Luma) a single device must be added/created for each camera connected to the NVR. Follow the steps below to add devices for each channel in use on the NVR.
To add the NVR in Fusion:
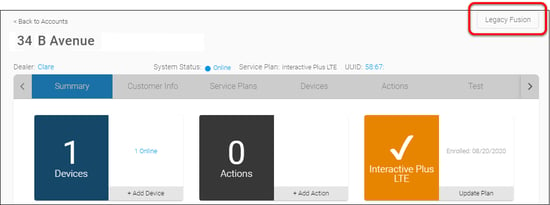
- Access the project in FusionPro, and then click the Legacy Fusion button.
The Fusion Sign In page displays.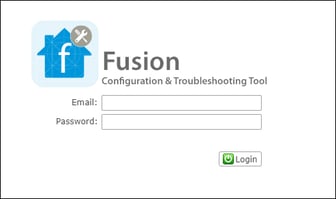
- Enter your Fusion credentials, and then click Login.
The project accessed in FusionPro is displayed by default. - Select the Devices tab, and then tap the Plus icon
 to add a new device.
The Select Template dialog displays.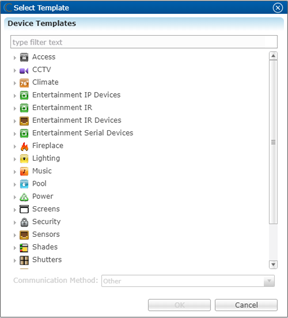
- Enter the name of the NVR in the search bar (Clare or Luma).
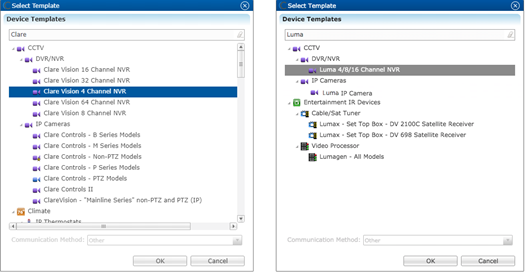
– or –
Expand CCTV, DVR/NVR, and then select the desired NVR.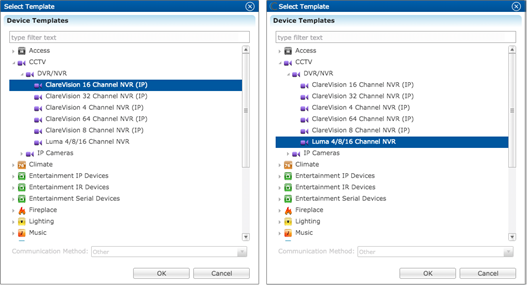
- Click Ok.
The NVR details display.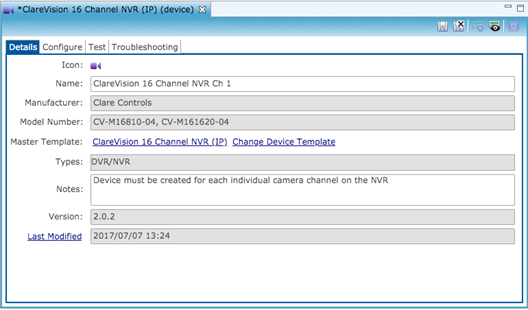
- Enter a name for the device, and then tap the Configure tab.
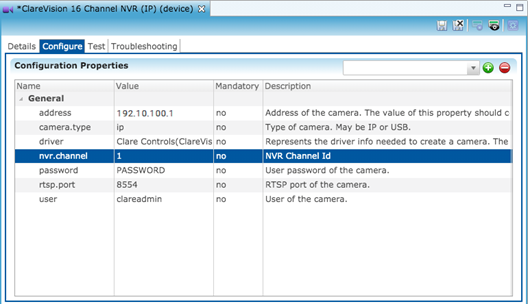
Note: We recommend using the channel/port number and the name of the camera for the device name. For example, “NVR Ch 1 – Driveway.” - Configure the NVR’s details.
address: The NVR’s IP address.
nvr.channel: The NVR channel being added.
password: The NVR’s set password.
user: The NVR’s set user.
- Click the Save and Close icon
 .
.
The Service info popup displays.
- Tap OK.
The service for the NVR channel is automatically created. - Repeat steps 1 through 7 for each additional NVR channel.
– or –
Clone the NVR channel.- Access the Devices tab.
- Right click the added NVR channel, and then click Clone Device.
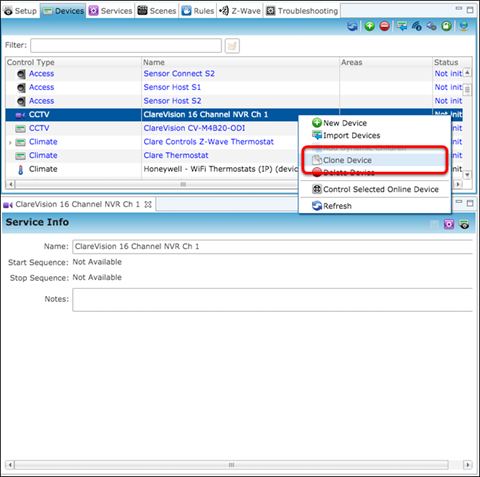
The Device Details display.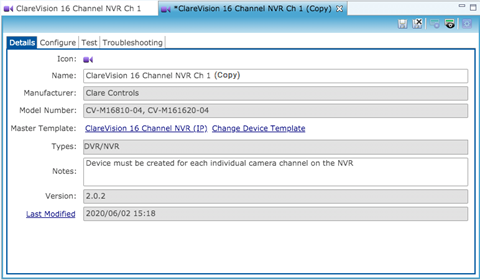
- Modify the name as desired, and then click the Configure tab.
- Update the nvr.channel number.

- Click the Save and Close icon
 .
.
The Service pop-up displays.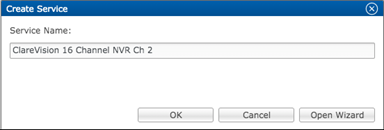
- Click OK.
- Repeat steps a through g for each additional NVR channel.
- Deploy the project.
The NVRs are now accessible in the ClareHome app and in FusionPro.
To add a CVP or Luma camera to the ClareOne panel using FusionPro, see FusionPro Adding a CVP or Luma Camera to the ClareOne Panel Technical Bulletin (DOC ID 1967).
Accessing the NVR
Once the NVR is added to the project, it can be viewed through the ClareHome app.
To add and view the NVR from the Favorites page:
- Access the ClareHome app, and then tap the desired blank tile.
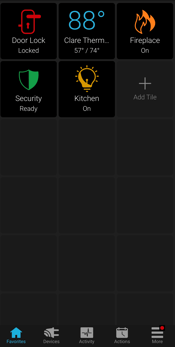
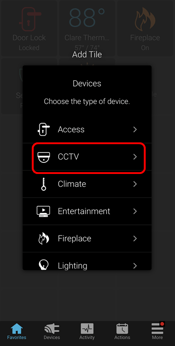
- Tap + Add Device.
- Select the category (CCTV), and then tap + Add next to the NVR.
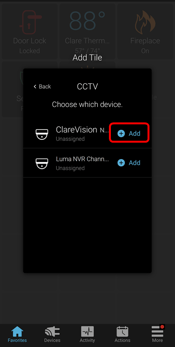
A snapshot from the NVR stream displays on the Favorites tile.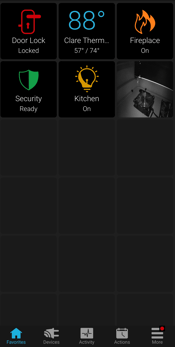
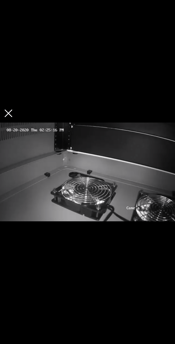
- Tap the tile to view the live NVR stream.
To view the NRV’s current stream from Devices:
Note: This process allows a user to view their NVR stream and not have the device set as a tile on the Favorites page.
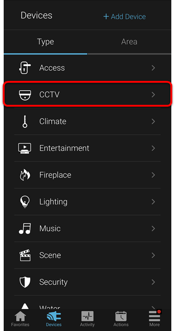
- Access the ClareHome app, and then tap the Devices page.

- Select the category (CCTV), and then tap the NVR.
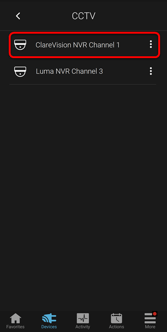
The NVR’s stream displays.