Introduction
This tech bulletin contains instructions for modifying the Luma camera settings to work with ClareHome. This requires that the Luma camera settings are modified and it is added to ClareHome through Fusion.
Luma camera settings
Modify the camera settings as detailed below.
To modify the Luma camera settings:
- Download and install the Luma Utility app.
Note: This is a Windows only app.
- Use the app to find to find the camera’s IP address. See Luma documentation for finding the IP address.
- Log in to the Luma camera using a web browser.
User Name: admin
Password: 12345
Note: Depending on the camera used, the user may have of set their own password. Use the set password if it was changed when adding the camera.
- Click on the Settings icon
 next to the desired camera.
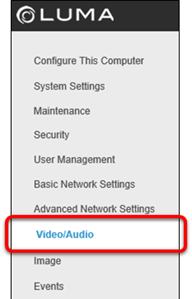
 - Click Video/Audio.
- Configure the camera as follows:
Stream Type: Sub Stream
Frame Rate: 8
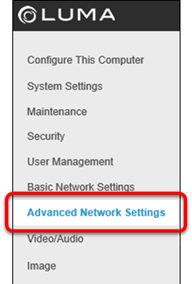
- Click Save, and then click Advanced Network Settings.
- Tap the Integration Protocol sub-tab, and then click Add.
Note: Some Luma devices do not have an integration protocol sub-tab. If this is the case, the user must use the login from step 3 in Fusion.
- Configure the user as follows:
User Name: clareadmin
Password: Secure7519
Level: Media user
- Click Ok, select the Enable ONVIF box, and then click Save.
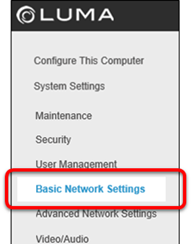
- Click Basic Network Settings.
- Create a DHCP reservation in the router.
– or –
Uncheck DHCP to disable it, and then enter the static, and then click Save.
Add the camera in Fusion.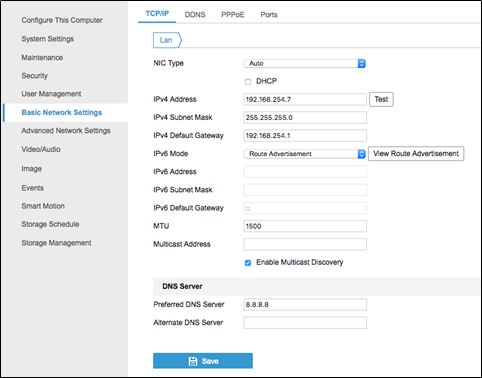
Fusion
Once the Luma camera is configured, add the camera in Fusion.
To add the camera in Fusion:
- Access the project in Fusion.
- Click the Plus icon
 to add a new device.
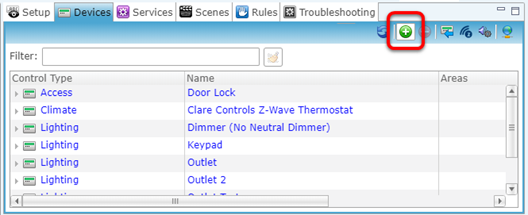
- Browse to Luma IP Camera and then click OK.
CCTV > IP Cameras > Luma IP Camera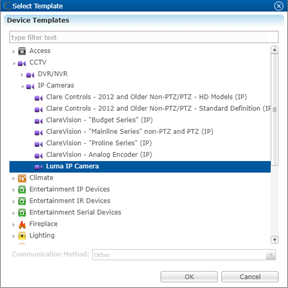
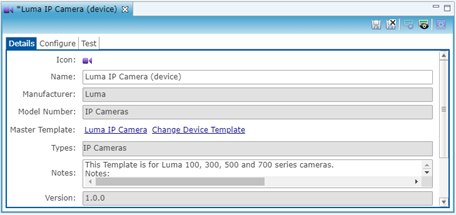
- Enter a name for the device.
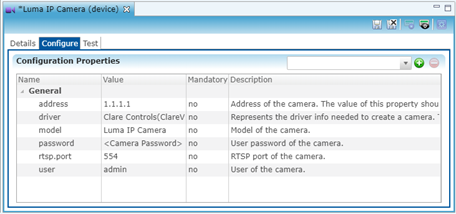
- Click the Configure tab, and then enter the device’s credentials.
User: clareadmin
Password: Secure7519
- Click Save and Close
 , and then deploy the project.
Full PDF - Using Luma Cameras with ClareHome Tech Bulletin (DOC ID 1921)
Related Articles:
ClareVision Plus NVRs and Luma 110 and 300 Series Cameras Tech Bulletin (DOC ID 1922)
Using ClareVision Doorbells with Luma NVRs Tech Bulletin (DOC ID 1920)