Introduction
OvrC is a support platform for professionals that allows them to remotely configure, manage, and troubleshoot devices on the network. The ClareOne Panel is OvrC enabled.
The ClareOne panel allow OvrC access to reboot the panel and monitor its online status. The ClareOne’s FusionPro account is also accessible directly from OvrC.
Adding the ClareOne Panel to OvrC
ClareOne Panels are manually added to OvrC.
OvrC Pro
ClareOne must be connected wirelessly to the same network as the OvrC Pro device.
Otherwise, you must enter the wireless MAC address and Serial Number manually into OvrC. Follow the below instructions to manually add the panel into OvrC.
To add the ClareOne panel devices to a network with an OvrC device:
- Access the desired user account.
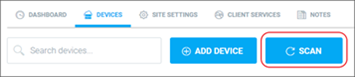
- Click Devices.

Note: Often when a device does not show after auto-discovery it is because of a caching issue in your browser, refresh browser to see discovered devices, or continue with the next steps to scan for devices. - Click Scan.
- Refresh browser when scan is complete to view newly discovered devices.
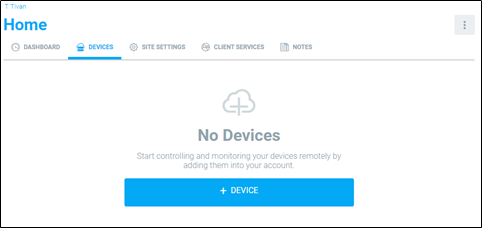
- If the ClareOne panel device does not discover, continue by adding the device manually.
To manually add the panel to OvrC:
- Access the desired user account.
- Click Devices.

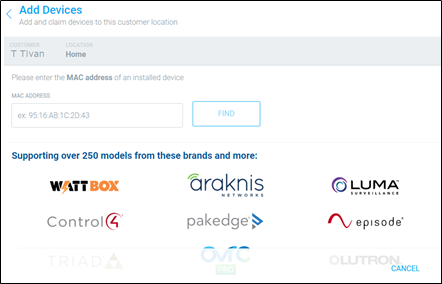
- Click + Device.
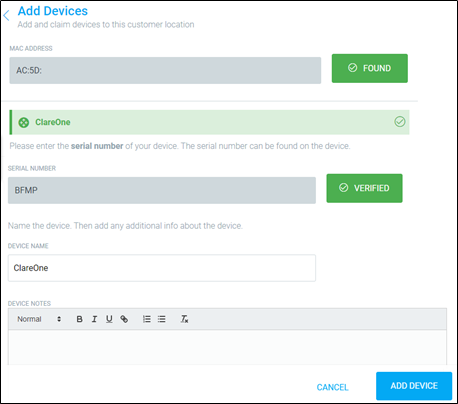
- Enter the ClareOne Panels MAC Address, and then click Find.
To find the MAC Address:
- Locate the ClareOne panel, and then browse to About.
Settings > About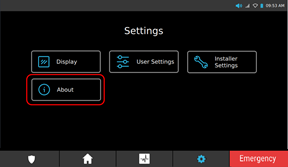
- Scroll to view Network Info, and then expand the drop down.
- Expand Wifi.
The MAC Address displays.
- Locate the ClareOne panel, and then browse to About.
- Enter the panel’s Serial Number, and then click Submit.
To find the Serial Number:
- Locate the ClareOne panel, and then browse to About
Settings > About
- Scroll to the Serial Number.
- Locate the ClareOne panel, and then browse to About
- Enter a name for the panel, and then click Add Device.
Launching FusionPro
After the device is configured in FusionPro you can Launch FusionPro and go directly to the device account from the device details in the OvrC app.
To launch FusionPro from OvrC:
- On the device list, and then click on the ClareOne Panel.
- Click Launch FusionPro.
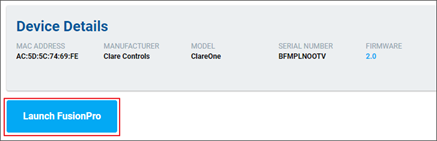
- Log into FusionPro.
The device’s account displays.
Notifications
Notifications can be enabled in OvrC to allow the dealer to know when the panel is offline, allowing for prompt action and troubleshooting.
Notes
- When a controller goes offline, it may take 10+ minutes to send an offline notification.
- When a controller comes online, it may take up to 5 minutes to send an online notification.
To enable notifications on OvrC:
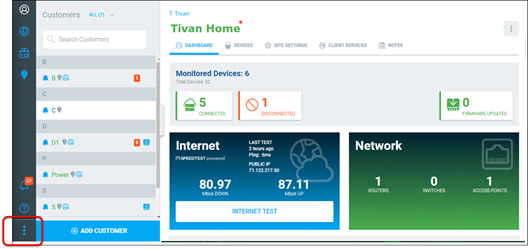
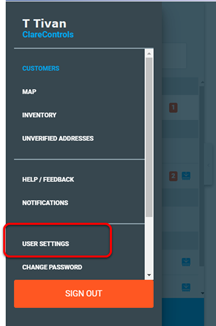
- Access OvrC, and then click on More.
- Click User Settings.
- Click the Enable Notifications slider, enabling the dealer to receive OvrC notifications.
Note: Notifications are only sent for the ClareOne panel when its status changes from online to offline or offline to online. - Click the desired notification methods, App, Email, or both.
Receive Notifications in OvrC App: This option allows the dealer to receive in OvrC app notifications.
Receive Notifications via Email: This option allows the dealer to receive an email.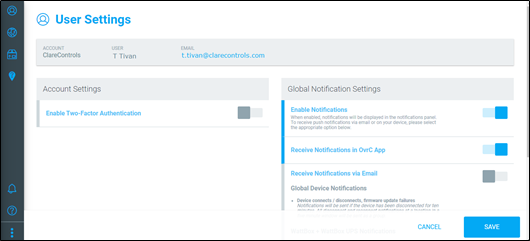
- Click Save.
The dashboard displays.
- Scroll through the customer list on the left side of the screen to view the desired customer, and then click the Bell icon to enable/disable notifications.
Note: If notifications are not enabled for the customer, the dealer will not receive notifications for any of that customer’s devices. : Notifications are enabled.
 : Notifications are disabled.
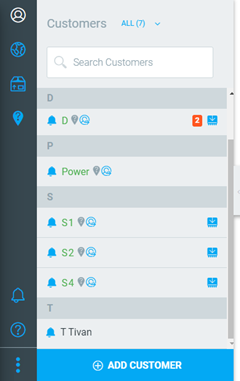
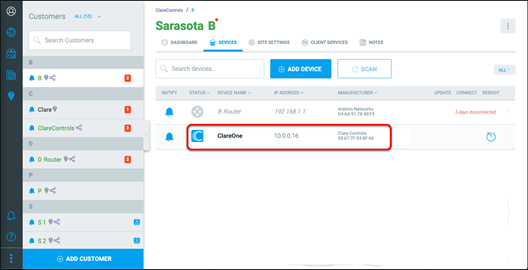
- Click the customer’s name, and then click Devices.

- Scroll to view the ClareOne panel, and then click the Bell icon to enable/disable notifications for the panel.
 : Notifications are enabled.
 : Notifications are disabled.
The dealer now receives a notification when there is a change in status (online/offline) for the selected customer’s ClareOne panel.
Swapping ClareOne panels
When a homeowner wants to move their panel to another residence, an apartment has a new tenant, or a panel is returning to inventory it can be moved in OvrC.
To switch ClareOne panels to a different OvrC account or inventory:
- Access the OvrC account that the panel is currently registered on.
- Click Devices.

- Click on the panel.
- Click the More icon
 , and then click Transfer.
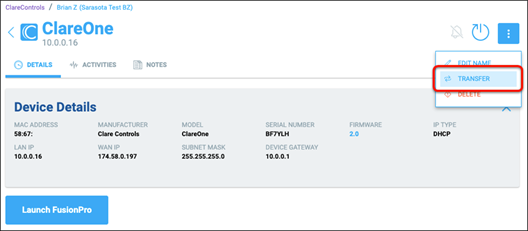
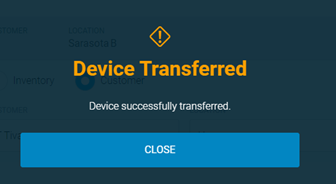
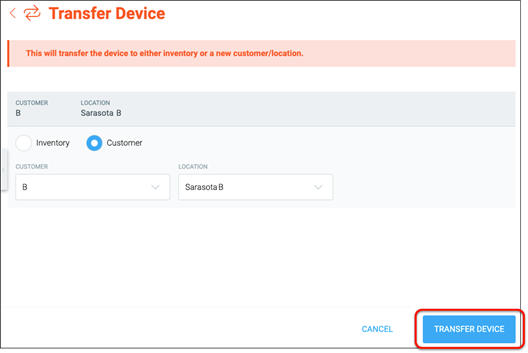
- Select the transfer location (to a different customer or to inventory), and then click Transfer Device.
The Device Transferred popover displays.