In this article, we will outline the steps on how to update ClareVision camera firmware using the NVR Virtual Host.
IMPORTANT NOTE: You must download the firmware you need for each camera from the ClareVision Firmware Database here: https://www.clarecontrols.com/clarevision-firmware
Once your desired firmware is downloaded, access the NVR web console. You can access the NVR web console by navigating to the NVR IP address in your web browser. To find the IP address of the device, you can download the install the IP Search Tool which will scan the home network for compatible ClareVision devices.
How to access cameras using the Virtual Host from an NVR
- Navigate to the NVR web console.
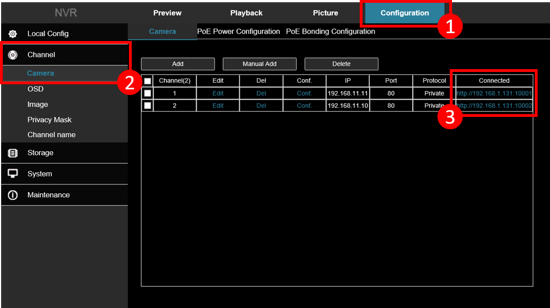
- Select the Configure tab.
- Open the Channels sub menu and select Cameras.
- Tap the desired camera IP address to open a new web console tab for the camera.
How to update camera firmware
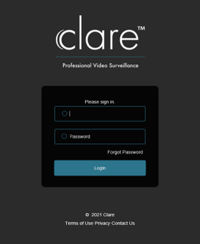
- Once prompted, log into the camera web console using the NVR login credentials.
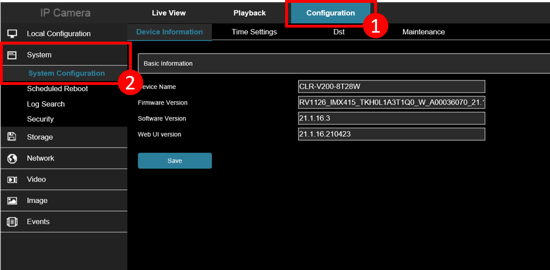
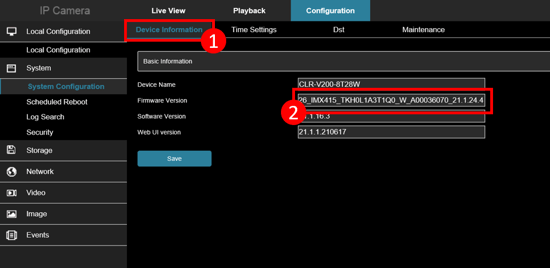
- Select the Configuration tab.
- Open the System sub menu and select System Configuration.
- Switch to the Maintenance tab.
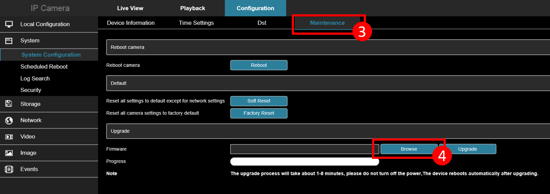
- Under the Upgrade > Firmware section, tap Browse to open the system window.
- Navigate to the desired firmware save location, select it and tap Open.
The file path will be displayed in the web console. - Tap Upgrade to begin the update process. Tap Ok if prompted by a popup window.
The firmware upgrade process could take up to 8 minutes to complete.
- Once completed, you will be prompted to log back into the web console. Input the default credentials and navigate back to the System Configuration sub menu to verify that the firmware version is now updated.
Last Updated: 06/18/2021