Introduction
The Honeywell WiFi thermostats are a series of WiFi thermostats that have been tested and certified for integration with the ClareHome system.
When integrating a Honeywell WiFi thermostat into your ClareHome project, no extra connections are necessary. Install the thermostat according to the Honeywell documentation, register the thermostat on the Honeywell portal, enable auto mode in the thermostat, and then connect it to the network using IP.
All HVAC drivers share a common UI, so that the user experience is consistent. Temperature settings can be controlled via events. Use Fusion’s Scenes and Rules to automate the actions your customers want.
Supported models:
9000 Smart
Econnect Wireless Comfort Control System
Wi-Fi FocusPRO 6000
Wi-Fi 7-Day Programmable
Wi-Fi Smart Thermostat
Wi-Fi 9000
Prestige IAQ
VisionPRO 8000
Wireless FocusPRO
* Note: Models marked with an asterisk (*) require additional gateway equipment for home automation. Refer to manufacturer’s documentation for additional information.
The Following figure shows the Honeywell controls on the ClareHome UI.

(1) Temperature displays on the ClareHome UI in Fahrenheit.
(2) Change the Heat set point by sliding the indicator left/right on the bar.
(3) Change the Heat set point by sliding the indicator left/right on the bar.
(4) Change the Operation mode by tapping the desired radio button.
(5) Change the Fan mode by tapping the desired radio button.
Installing the Honeywell thermostat
A qualified HVAC installation technician should install the Honeywell thermostat. Refer to the documentation that came with the thermostat for detailed installation instructions. Clare Controls does not assume any responsibility for damages caused by improper installation or connection to the data network.
Registering the thermostat
After installation, you must register the thermostat on the Honeywell portal. This allows the thermostat to be accessed remotely and updated with information from the Honeywell portal.
To register the Honeywell thermostat:
Note: To register your Honeywell WiFi devices, you must have each device’s MAC ID and Device CRC.
- Access the Honeywell WiFi portal at https://mytotalconnectcomfort.com/portal.
- Log into the website.
– or –
Create an account, and then log in. - Add a location.
Adding the location launches a registration wizard. - Complete the wizard to register your devices.
Note: You will need the thermostats name for Fusion. The name is case sensitive and must match the name in Honeywell.
Enabling auto mode
Refer to individual thermostat manuals for instructions on activating Auto Mode.
Note: It is necessary to enable auto mode when its used with the Clare Controls App.
Pairing and removing the thermostat with ClareHome
To pair the thermostat using ClareHome:
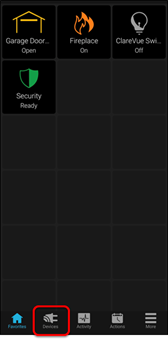
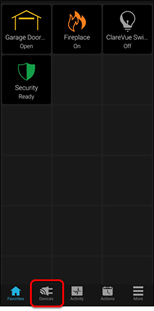
- Tap the ClareHome app’s Devices
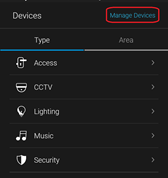
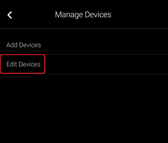
- Tap Manage Devices.
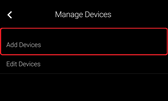
- Tap Add Devices.
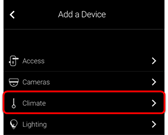
- Select the device category, Climate.
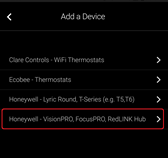
- Select the device type, Honeywell – VisionPRO, FocusPRO, RedLINK Hub.

- Read through the displayed information, and then tap Authorize Device.
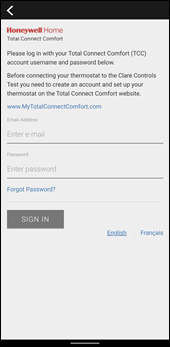
- Enter your credentials into the Honeywell TCC page and tap Sign In.
- Read through the provided information and tap Accept.

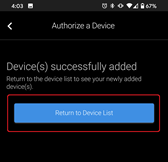
- Tap Return to Device List.
To remove the thermostat using ClareHome:
- Tap the ClareHome app’s Devices
- Tap Manage Devices.

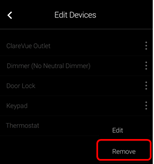
- Tap Edit Devices.
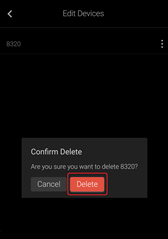
- Tap the 3 dots next to the thermostat, and then tap Remove.
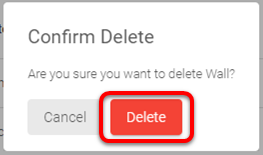
- Tap Confirm.
Pairing and removing the thermostat in FusionPro
Pair the thermostat to the project.
To add the thermostat in FusionPro:
- Click Accounts in the side menu.
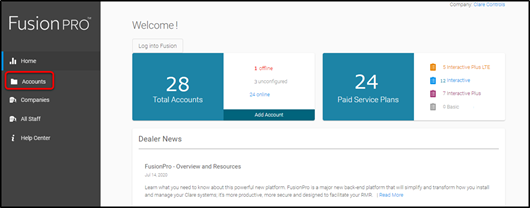
- Locate the desired account in the list, and then click View.
The Account sub-menu is now available.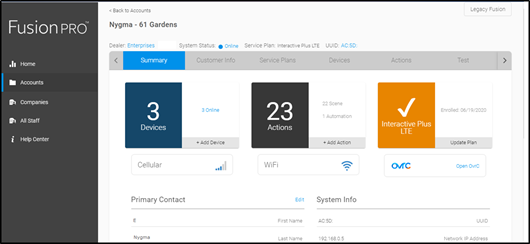
- Click the Devices tab, and then click Add Devices.
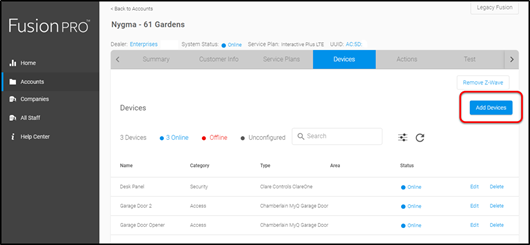
- Select the device category (Climate).
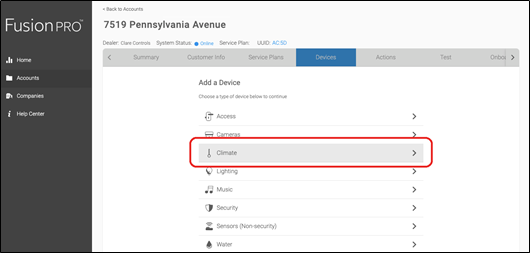
- Click Honeywell – VisionPro, FocusPro, RedLINK Hub.

- Click Authorize Device.
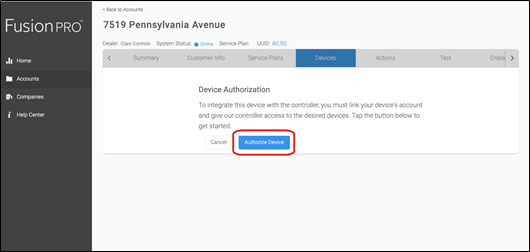
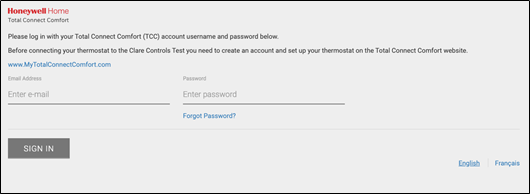
This will take you to the Honeywell sign in page. - Enter the customer’s credentials and click Sign In.
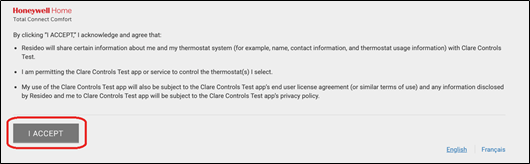
- Read through the information presented and click I Accept.
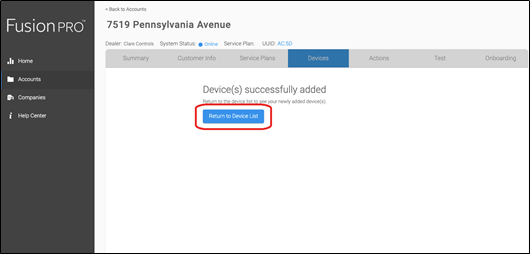
This will redirect back to FusionPro and show the authorization status. - Once the device is successfully authorized, click Return to Device List.
To remove the thermostat with FusionPro:
- Click Accounts in the side menu.

- Locate the desired account in the list, and then click View.
The Account sub-menu is now available.
- Click the Devices tab, and then click Delete next to the desired device.
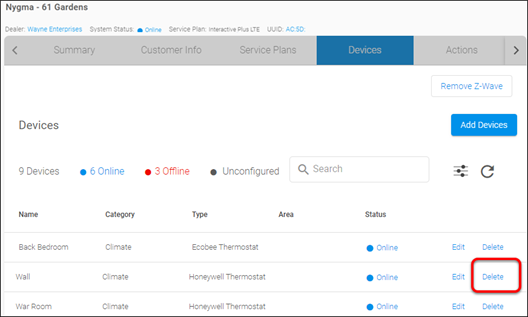
- Click Delete to confirm.